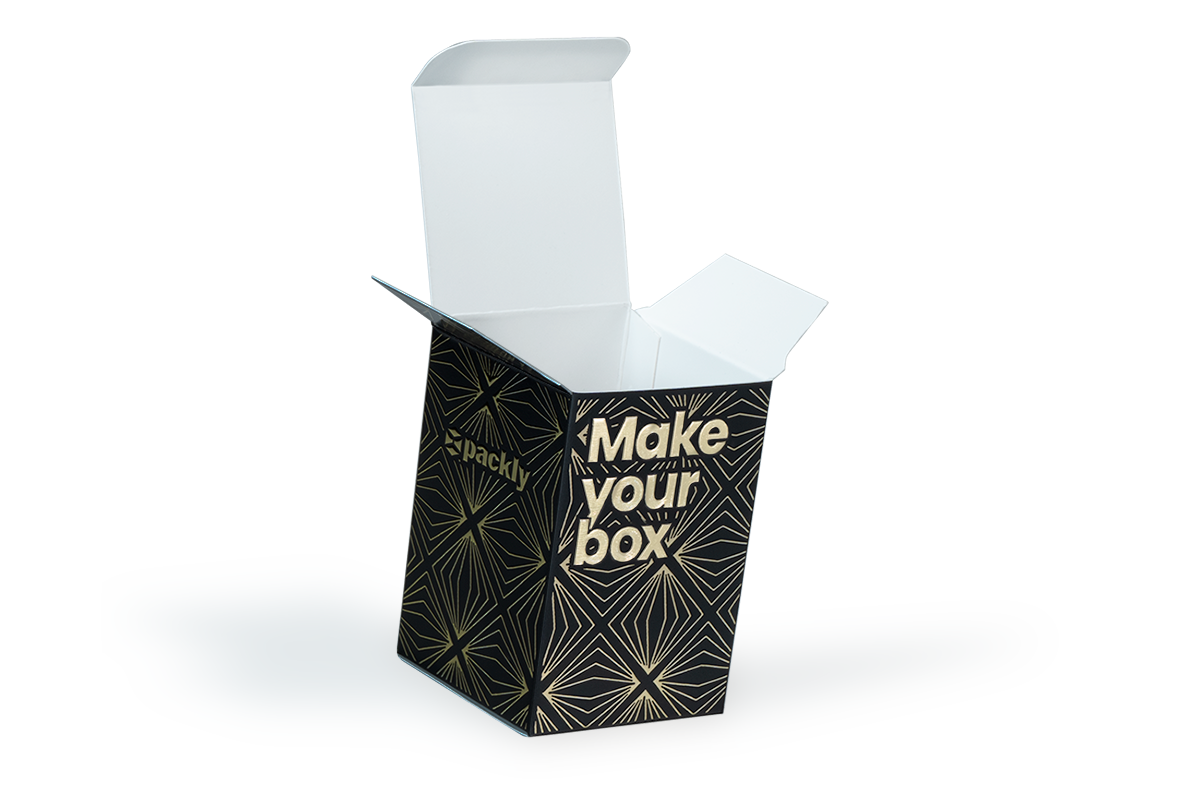
Create and print your boxes in a few steps
Creating and printing your packaging has never been easier with Packly.

Discover Packly’s solutions, the ideal partner for creating custom print boxes for your products.
Configure the size, materials, and special finishes of your custom boxes and preview how your final product will look with the 3D preview. Once you’ve uploaded your packaging design, proceed to print your boxes directly from our platform.
Packly makes the packaging creation process simple, fast, and accessible, allowing you to turn your ideas into high-quality printed boxes that reflect your vision and brand.
1. Choose and configure your packaging
- Enter the dimensions of the product you want to package.
- Select the box model you want to create.
- Choose the material that best suits your packaging project.
- Add special finishes to make your boxes unique.
2. Download and customise the layout
- Download the die-cut template.
- Open the template with a vector graphics software (e.g., Illustrator®) to customize it.
- Lock the template layer without making any changes.
- Create a new layer for your artwork and place it below the Packly template layer.
- Insert your custom artwork on the new layer.
- Save your packaging project with both layers and as a high-resolution PDF.
3. View your boxes in 3D
- You can choose to upload your graphic file now during the packaging configuration process or after placing your order in the MyPackly area.
- Preview your packaging design using our 3D preview directly online, you can see exactly how it will look before you proceed to print your boxes.
4. Add your packaging to the cart
- Enter the quantity to be printed and get a real-time quote.
- Select your preferred manufacturing time.
- Add your packaging to the cart.
- Confirm the PDF file with your artwork immediately or upload it in the MyPackly area after placing your order.
5. Checkout and print your boxes
- Go to checkout page and select or enter your billing and shipping addresses.
- Choose your preferred payment method: credit card, PayPal, or bank transfer.
- Click “Place order” and print your boxes.
Help Center
Do you have questions or need support?
Visit our Help Center for guidelines and advice on how to print your boxes.
Design. Preview. Print.
Manage the entire packaging creation process, from design to printing, on a single platform.